Izrada sapuna je zanimljiv i kreativan proces koji privlači sve više ljudi. Sapun je proizvod koji se koristi svakodnevno, a mnogi od nas ne razmišljaju o njegovom sastavu i posljedicama koje može imati na kožu. Kada sami pravite sapun, imate kontrolu nad sastojcima i možete birati prirodne i organske sastojke koji su blagi i korisni za vašu kožu.

Postoje različite metode izrade sapuna, ali osnovna ideja je ista: kombinovanje masnoća i alkalije da bi se stvorio hemijski proces – saponifikacija. U procesu saponifikacije, masnoće se kombinuje s alkalijom da bi se stvorio sapun i glicerin. Postoji nekoliko vrsta alkalija koje se mogu koristiti u izradi sapuna, ali najčešća je natrijum hidroksid (luž). Važno je imati na umu da se u procesu saponifikacije alkalija jako zagrijava i može biti opasna za rukovanje, stoga je potrebno koristiti zaštitnu opremu i paziti na mjere opreza.

izrada sapuna
Prirodni domaći sapun

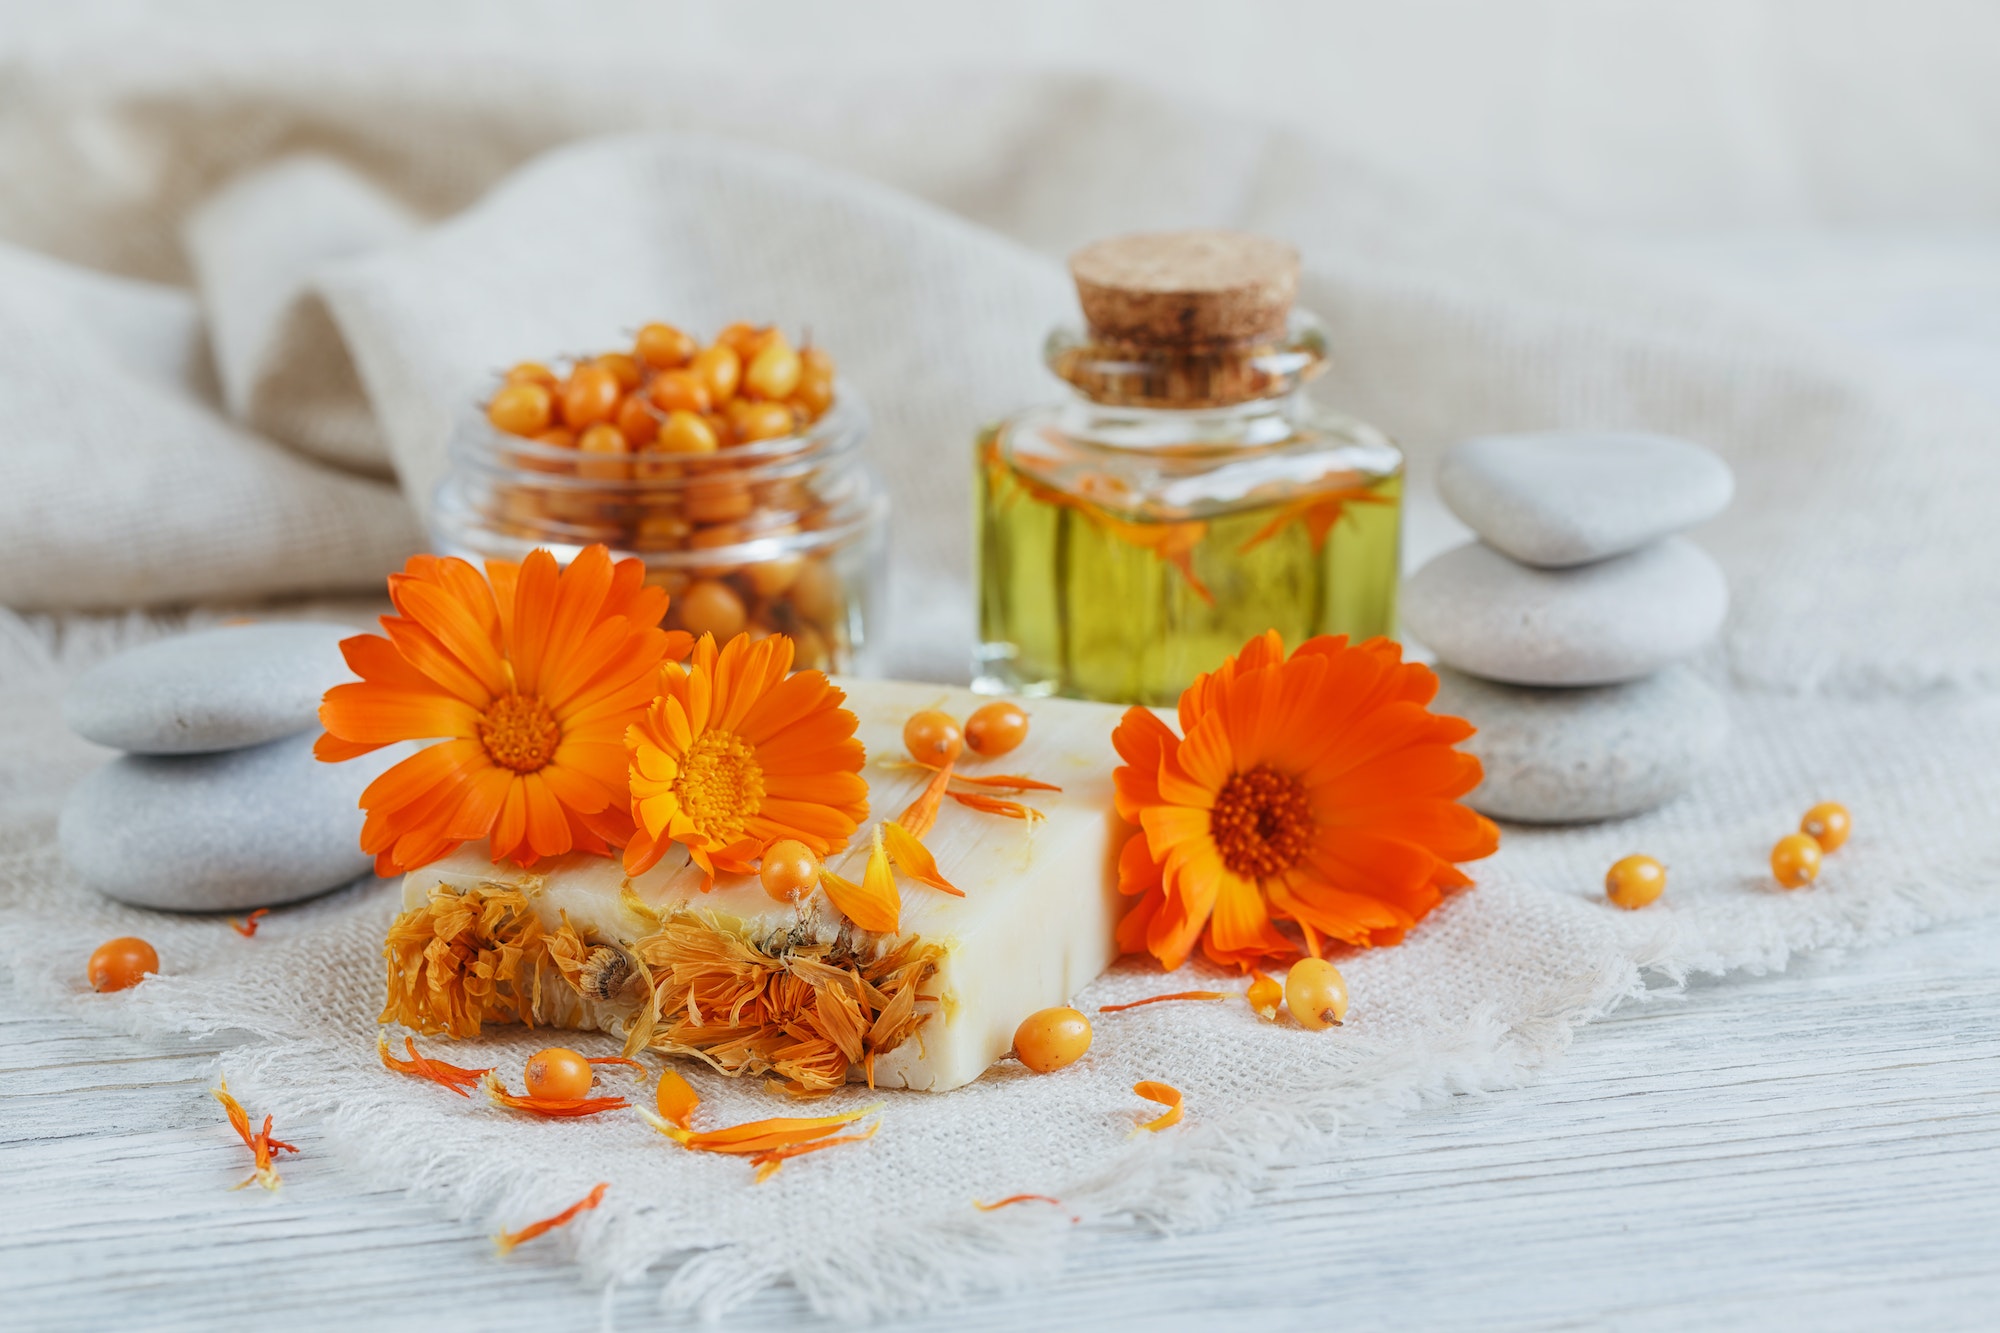
Prije početka izrade sapuna, potrebno je pripremiti sve sastojke i opremu. Najvažnija komponenta u izradi sapuna su masnoće, koje mogu biti biljnog ili životinjskog porijekla. Za prirodan sapun, najbolje je koristiti organska biljna ulja kao što su kokosovo, maslinovo, palmino ili bademovo ulje. Za dodatni učinak, možete dodati eterična ulja, sušene biljke, boje i druge sastojke.

Prva faza izrade sapuna je miješanje alkalije s vodom. Ova faza se obično odvija na otvorenom ili u dobro prozračenom prostoru, jer stvara pare koje mogu biti štetne ako se udahnu. Nakon što se lužina ohladi, treba je polako i pažljivo dodati u miješalicu s rastopljenim masnoćama. Miješanje se nastavlja sve dok se ne postigne željena konzistencija i gustoća smjese.

Nakon što se smjesa sapuna dovoljno ohladi, može se izliti u kalupe i ostaviti da se stvrdne. Nakon nekoliko dana, sapun se može izvaditi iz kalupa i ostaviti da se suši na zraku još nekoliko tjedana kako bi se uklonila preostala vlaga. Konačni proizvod je lijep i mirisan sapun koji možete koristiti za pranje ruku i tijela.

Kao što vidite, izrada sapuna je vrlo zabavna i korisna aktivnost. Sa samo nekoliko sastojaka i alata, možete stvoriti divne i prirodne sapune koji će negovati vašu kožu. Osim toga, ovaj proces može biti odličan način za pokretanje vlastitog posla i prodaju domaćih sapuna.

Ako ste zainteresovani za izradu sapuna, prvo morate odlučiti koje vrste sapuna želite izraditi. Možete izabrati između raznih sastojaka, kao što su različita ulja, boje i mirisi. Takođe, postoje različite tehnike za izradu sapuna, poput hladnog procesa ili procesa topljenja i izlivanja.

Prije nego što počnete sa izradom sapuna, obavezno se informišite o sigurnosnim mjerama i pravilima koja treba slijediti kako biste izbjegli neželjene incidente. Korištenje zaštitne opreme, poput rukavica i naočara, i pažljivo mjerenje sastojaka su vrlo važni. Takođe, nemojte nikada jesti sastojke namijenjene za izradu sapuna.

Kada ste spremni za početak, možete pronaći recepte na internetu ili u knjigama koje se bave izradom sapuna. Zapamtite, ključna stvar u izradi sapuna je preciznost i pažljivost. Takođe, možete se pridružiti zajednicama i forumima posvećenim izradi sapuna kako biste se informisali o najnovijim trendovima i razmijenili iskustva.

izrada sapuna
Pravljenje sapuna

Prodaja domaćih sapuna je postala vrlo popularna poslednjih godina, a mnogi ljudi su spremni platiti više za prirodne i ručno izrađene proizvode. Možete prodavati sapune na lokalnim sajmovima, online platformama ili čak otvoriti vlastitu radnju.

Za izradu sapuna će vam biti potrebni razni sastojci i alati, kao što su kalupi, lonce i štapni mikseri. Budžet će varirati ovisno o vrsti sapuna koji želite izraditi i koliko veliku količinu planirate proizvesti. Međutim, cijene sastojaka i alata su vrlo pristupačne i lako dostupne.

Kao što smo vidjeli, izrada sapuna može biti odličan način za opuštanje i zabavu, a takođe i za zaradu novca.

izrada sapuna
Pravljenje sapuna

Recept za izradu sapuna

Prije početka procesa, potrebno je pripremiti sve potrebne sastojke i materijale.

Sastojci:

  • 500g glicerina
  • boja za sapun (opcionalno)
  • esencijalna ulja (opcionalno)
  • suvo cvijeće (opcionalno)

Materijali:

  • posuda za topljenje glicerina
  • mjerna čaša
  • žlica
  • kalup za sapun
  • termometar
  • miješalica
  • nož

Koraci:

  1. Narežite glicerin na male komade i stavite u posudu za topljenje. Zagrijavajte na niskoj temperaturi dok se potpuno ne otopi.
  2. Dodajte boju za sapun (opcionalno) i miješajte dok se boja potpuno ne rasporedi.
  3. Ako koristite esencijalna ulja, dodajte ih sada i miješajte.
  4. Ako koristite suvo cvijeće, stavite ga na dno kalupa za sapun.
  5. Ulijte topljeni glicerin u kalup za sapun i ostavite da se ohladi i stvrdne.
  6. Kad se sapun stvrdne, izvadite ga iz kalupa i ostavite da odstoji još jedan dan.
  7. Nakon što sapun odstoji, može se koristiti za pranje.

Korisni linkovi:

  1. https://www.naturalsoapmakingrecipes.indigoearthnews.com/what-is-lye-and-why-is-it-important-in-natural-soap-making/
  2. https://www.soapqueen.com/bath-and-body-tutorials/t-hinduism-and-soap-making-a-tale-of-two-ages/
  3. https://www.soapqueen.com/bath-and-body-tutorials/cold-process-soap/free-beginners-guide-to-soapmaking-melt-and-pour/
  4. https://www.naturalsoapmakingrecipes.indigoearthnews.com/https://www.thesprucecrafts.com/basic-soap-making-recipes-517179
(0)

Weaving is a craft that has been around for centuries and is enjoyed by people of all ages and skill levels. If you’re just starting out with weaving, it’s important to have the right tools to make the process as easy and enjoyable as possible. In this guide, we’ll take a look at some essential weaving tools for beginners and how they can help you create beautiful woven pieces.

Essential Weaving Tools for Beginners
Midsection of a man at weaving loom

Essential Weaving Tools for Beginners


Loom

A loom is the most important tool in weaving, as it provides a structure for the weaving process. There are different types of looms, including floor looms, table looms, and rigid heddle looms. Floor looms are the largest and most complex, while rigid heddle looms are the smallest and simplest. Table looms are a good middle ground, providing more versatility than rigid heddle looms without the bulk of a floor loom.

Heddle

A heddle is a device used to separate the warp threads in weaving. It is attached to the loom and allows the weaver to create a shed, or opening, through which the weft thread is passed. There are different types of heddles, including flat heddles and wire heddles. Flat heddles are used with rigid heddle looms, while wire heddles are used with floor and table looms.

Shuttle

A shuttle is a tool used to pass the weft thread through the shed created by the heddle. There are different types of shuttles, including boat shuttles and stick shuttles. Boat shuttles are used with floor and table looms and are designed to hold a large amount of weft thread. Stick shuttles are used with rigid heddle looms and are smaller and more lightweight.

Bobbin

A bobbin is a spool that holds the weft thread. It is used with boat shuttles and other types of shuttles to keep the weft thread organized and prevent tangling. Bobbins can be made from different materials, including plastic and wood.

Shed Stick

A shed stick is a flat tool used to open the shed created by the heddle. It is used with rigid heddle looms and is particularly useful for weaving with bulky yarns or creating patterns.

Reed

A reed is a comb-like tool used to separate the warp threads and create a consistent spacing for the weft thread. It is attached to the loom and is an essential tool for creating even and uniform woven pieces. Reeds come in different sizes and can be made from different materials, including metal and plastic.

Beater

A beater is a tool used to press the weft thread into place after it has been passed through the shed. It helps to create a tight and even weave. Beaters can be made from different materials, including wood and metal.

Warp Board

A warp board is a tool used to measure and create the warp threads for the loom. It is essentially a large board with pegs that allow the weaver to measure a specific length of warp thread. The warp board is particularly useful for creating long pieces, such as scarves and shawls.

In conclusion, these are some essential weaving tools for beginners that can help make the weaving process easier and more enjoyable. While there are many other tools and accessories that can be used in weaving, these are some of the most important and basic tools to get started with. By investing in these tools, you’ll be well on your way to creating beautiful.

Weaving Techniques and Supplies: Tips for Beginners

(0)

Are you a beginner weaver looking to learn more about weaving techniques and supplies? Look no further! In this post, we’ll cover some of the basics of weaving and offer tips on how to choose the right supplies for your projects.

Weaving Techniques and Supplies
Weave silk cotton on the manual wood loom

Weaving Techniques:

  1. Plain Weave – This is the most basic and common weaving technique. It involves weaving one weft thread over and under one warp thread, alternating each row
  2. Twill Weave – This weaving technique involves weaving the weft thread over and under two or more warp threads in a diagonal pattern. This creates a distinctive diagonal pattern in the fabric.
  3. Basket Weave – This technique is similar to the plain weave, but involves weaving two or more weft threads over and under two or more warp threads. This creates a thicker, more textured fabric.
  4. Satin Weave – This is a more complex weaving technique that involves weaving the weft thread over several warp threads before going under one warp thread. This creates a smooth, shiny fabric.
Weaving Techniques and Supplies
Weave silk cotton on the manual wood loom

Weaving Supplies:

  1. Loom – A loom is a tool used for weaving. There are many types of looms available, including frame looms, rigid heddle looms, and floor looms. Choose a loom that suits your needs and budget.
  2. Yarn – There are many types of yarn available for weaving, including cotton, wool, silk, and synthetic fibers. Choose a yarn that suits your project and budget.
  3. Shuttle – A shuttle is a tool used to carry the weft thread through the warp threads. There are many types of shuttles available, including boat shuttles, stick shuttles, and end-feed shuttles.
  4. Warping Board – A warping board is used to measure and create the warp threads. It consists of a series of pegs arranged in a specific pattern to create a warp.
  5. Bobbins – Bobbins are used to hold the weft thread. There are many types of bobbins available, including plastic bobbins, wooden bobbins, and metal bobbins.

By understanding the different weaving techniques and supplies available, you can create beautiful and unique woven projects. So what are you waiting for? Get weaving today!

In this blog post, we covered some of the basic weaving techniques and supplies for beginners. By using these tips, you can create beautiful woven projects that are sure to impress.

(0)